Title: "step-by-step raku pottery techniques for beginners: crafting your first piece"
Raku pottery holds a special place in the world of ceramics, celebrated for its distinctive and often dramatic firing process that results in unique, lustrous finishes. Originating in 16th-century Japan, Raku has evolved over the centuries and gained international acclaim for the beauty and unpredictability of its outcomes. For beginners, the journey into Raku pottery can be both exciting and demanding. This article delves into the step-by-step process, providing an in-depth look into crafting your first piece of Raku pottery.
The foundations of raku pottery
Before we dive into the hands-on approach, let’s explore the key principles. Raku pottery differentiates itself through a rapid, low-temperature firing technique and the often shocking temperature changes the pottery undergoes. The process includes three pivotal stages: forming the pottery, bisque firing, and Raku firing with post-reduction.
Crafting the clay body
Choosing the Right Clay
Start with an appropriate clay body specifically formulated for Raku. This clay can withstand the thermal shock that comes with the rapid heating and cooling of the Raku process. Your choice of clay will greatly influence the durability and success of your finished piece.
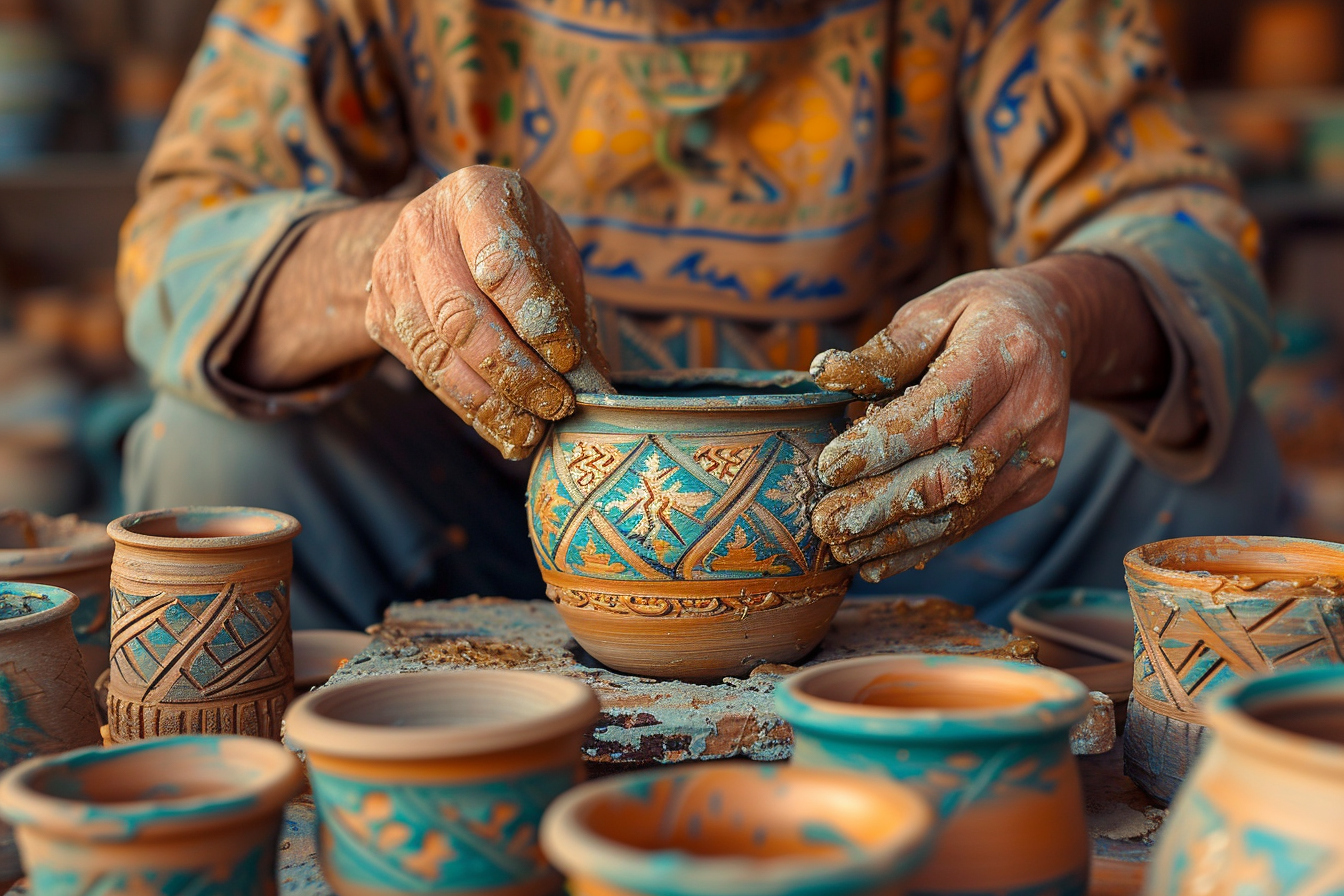
Shaping Your Masterpiece
Begin shaping your pottery using either hand-building techniques like coiling and pinching or a potter’s wheel. Beginners might find hand-building to be more approachable, as it allows for a slower, more contemplative forming process, perfect for understanding the material’s behavior.
Bisque firing: the prelude to raku
Drying Your Work
Properly Dry your crafted piece before any firing takes place. This ensures that no moisture remains, which could lead to cracks or explosions in the kiln. Drying can take several days, depending on the size and thickness of your work.
First Firing: The Bisque
Once dried, your piece undergoes bisque firing in an electric or gas kiln. For Raku, the typical bisque temperature is lower than for other types of ceramics, usually around Cone 08 (around 1720°F or 940°C). This initial firing sinter the clay, making it robust enough for handling while still porous enough to accept glazes effectively.
Glazing: the artistic choice
Choosing and applying glaze is where the magic begins to surface in Raku. The glaze’s interaction with the Raku firing process creates the vivacious metallic and crackled finishes Raku is famed for.
Application Techniques
Glaze Application is crucial. Brushing, dipping, or pouring are common methods that can be employed. The thickness of the glaze and the techniques used can dramatically alter the appearance of the Raku effects. Experimentation is encouraged to discover the outcomes that captivate you the most.
Raku firing: alchemy in action
The Raku Kiln
Consider the Kiln: Raku kilns are usually fueled by propane and are designed to heat rapidly. Safety equipment is essential, including heat-resistant gloves, eye protection, and long tongs to handle the hot pottery.
The Firing Process
The Raku firing process is a hands-on experience and the pinnacle of Raku pottery-making. The kiln rapidly reaches the required temperature (usually between 1600°F and 1800°F or 870°C to 980°C), and this is where close observation is key. Glazes will begin to melt and show signs of readiness, typically becoming glossy and fluid. This stage may take anywhere from 30 minutes to an hour.
Post-Firing reduction: the final transformation
Creating the Reduction Atmosphere
As soon as the glazes mature, use tongs to carefully remove the piece from the kiln and transfer it to a reduction chamber. This chamber, often a metal can filled with combustible materials like sawdust or newspaper, is where the "reduction" part of the process happens. The hot pottery ignites the materials, creating a smoky, oxygen-starved environment.
Sealing in the Smoke
Quickly Seal the Container to restrict the flow of air, allowing the piece to smoke for 15 to 30 minutes. This period of smoking is what gives Raku its unique lustrous, crackled surface. The smoke reacts with the glazes and the exposed clay, creating an array of effects that can include iridescent hues, deep lusters, and carbon-trap textures.
Quenching
Once the reduction is complete, your piece needs to be quenched. This means carefully removing it from the reduction chamber and placing it in water or leaving it to cool in the open air. The cooling method can also affect the appearance of the glaze.
Cleaning and appreciating your work
The Reveal
After cooling, your Raku piece will need cleaning. This step unveils the true beauty of your work, as the soot and debris from the firing and reduction process are removed. Soft brushes, water, and sometimes a mild cleaning agent are used to reveal the vibrant Raku effects beneath the grime.
Understanding the Outcome
Every Raku piece is a testimony to the harmony of elements and the potter’s craftsmanship. Imperfections are celebrated as part of the piece’s individual character, making each creation truly one-of-a-kind.
Handling with Care
Remember, Raku pottery is more porous and less durable than other types of fired ceramics. It should be handled with care and is best suited for decorative purposes rather than functional use.
The continuous learning curve
As a beginner, your first Raku experience sets the stage for continued learning and growth. With each subsequent piece, your understanding of the materials and the process will deepen. The hands-on knowledge you gain will refine your techniques, allowing for greater control and more artistic expression.
Learning from each piece’s triumphs and challenges, you are on a journey that marries ancient tradition with personal discovery. As you engage with the dynamic world of Raku, remember that each step offers insights and opportunities for mastery. Keep exploring, and let the Raku process be a guide to unlocking your creative potential.
Leave a Reply