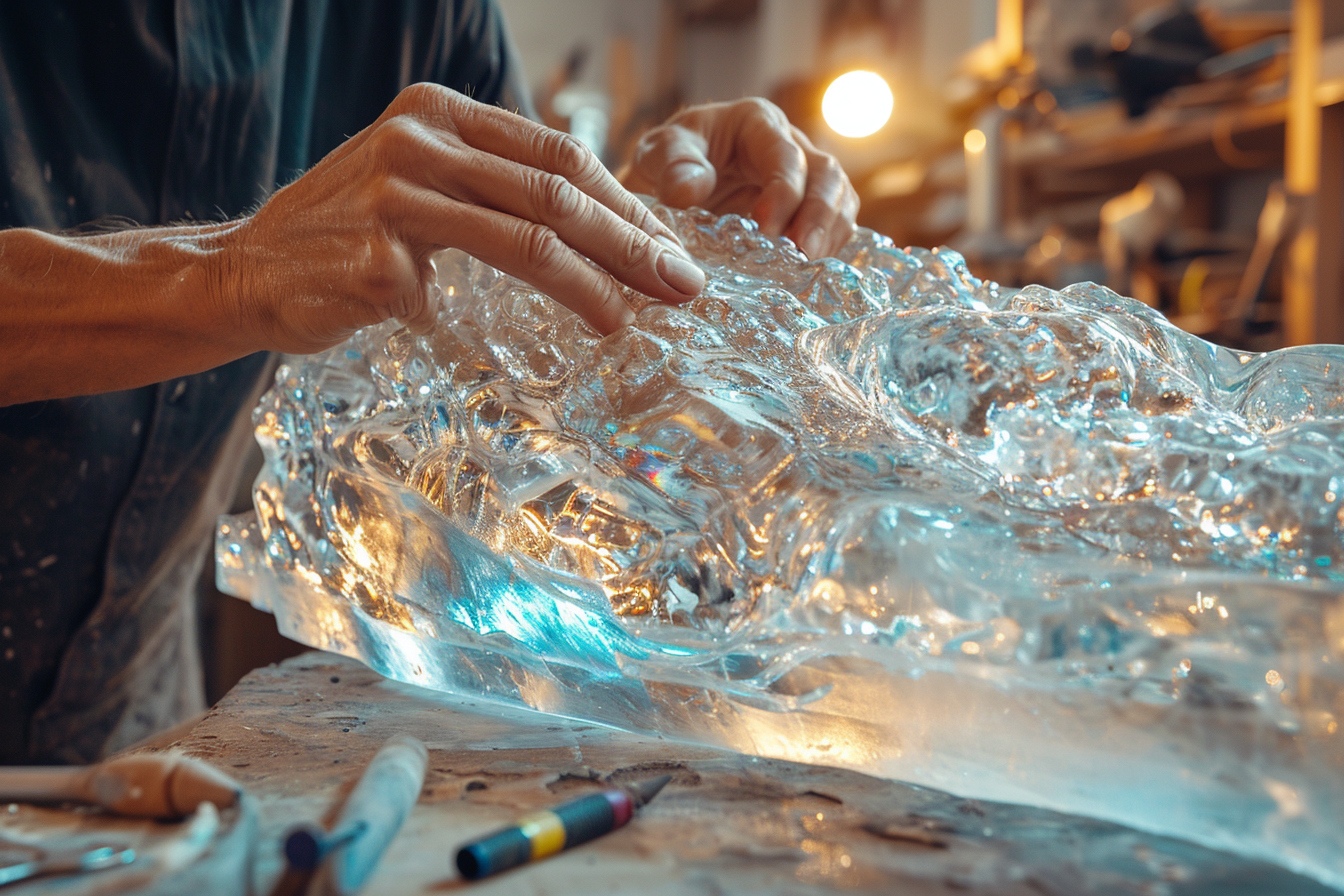
Working with epoxy resin represents a unique fusion of science and art. Beginners aspiring to master the craft of epoxy resin sculpture must approach this medium with patience, precision, and a willingness to experiment. It is a journey that introduces artists to a world of glass-like clarity, luminous colors, and the possibility to encapsulate various objects and moments in time. This text aims to impart essential techniques and provide valuable insights for novices embarking on the intricate yet rewarding process of sculpting with epoxy resin.
Understanding epoxy resin
The basics of the medium
Epoxy resin is a two-component system consisting of the resin itself and a hardener. When mixed together, a chemical reaction occurs, causing the mixture to harden into a durable plastic. It is renowned for its strength and versatility, making it an excellent material for creating sculptures.
Selecting the right resin
Before diving into the sculpting process, selecting the appropriate type of resin is crucial. There are various epoxy resins available on the market, from fast-curing options to those designed specifically for artistic creations with extended work times. For sculpting, a high-viscosity, UV-resistant resin might be the best choice to reduce the risk of yellowing over time and to allow for detailed manipulation.
Safety precautions
Handling epoxy resin requires strict safety protocols. It is advisable to work in a well-ventilated area, wear nitrile gloves to protect the skin, and use safety goggles to safeguard the eyes. Always read and adhere to the manufacturer’s safety guidelines to minimize any health risks associated with epoxy resin use.
Preparing to sculpt
Conceptualizing your design
Commencing with a concept or sketch can provide direction and focus for the sculpting process. Consider the sculpture’s size, shape, and the incorporation of colors or embedded objects. Visualize how light interacts with clear or translucent parts of the design to enhance the final piece’s aesthetic appeal.
Setting up the workspace
A clutter-free, dust-free, and temperature-controlled workspace is essential. Resin is sensitive to dust and other particulates that can mar its surface. The working temperature should be as recommended by the resin manufacturer, typically around 70-75°F (21-24°C), to ensure proper curing.
Basic techniques for epoxy resin sculpting

Measuring and mixing epoxy resin
Accurate measuring and thorough mixing of the resin and hardener are crucial for achieving the desired finish. Use graduated measuring cups and mix the components precisely according to the manufacturer’s ratio. Stir the mixture slowly but consistently to avoid introducing air bubbles.
Removing bubbles
Air bubbles can detract from the clarity of your sculpture. To remove them, use a heat gun or torch to lightly pass over the surface of the mixed resin. The heat causes the bubbles to rise and burst. This step must be done carefully to avoid overheating, which can cause the resin to yellow or distort.
Pouring the resin
It’s often best to pour the resin in layers, especially for thicker sculptures. Allow each layer to partially cure before adding the next. This method helps control the curing process, reduces the likelihood of overheating, and allows time for adding inclusions or pigments.
Coloring epoxy resin
To add a pop of color to your sculptures, you can mix in opaque or translucent dyes. Pigments come in various forms, such as powders or liquids, and must be compatible with epoxy resin. Introduce colorants gradually and mix thoroughly to reach the desired hue.
Incorporating inclusions
Epoxy resin’s versatility lies in its ability to encapsulate objects, from flowers to metal pieces. To suspend an object in resin, partially cure the base layer, place the item on top, then pour another layer of resin to cover it.
Molding and shaping
Sculptors must decide whether to free-form sculpt or use a mold. Silicone molds are popular for their non-stick properties and flexibility. If opting for a free-form approach, sculptors can carve, sand, or manipulate the semi-cured resin to achieve the desired shape.
Advanced techniques

Layering and texturing
Experienced sculptors can create intricate sculptures with multiple layers and textures. This can involve adding different types of inclusions in each layer, varying the opacity, or learning how to use additives to create effects such as marble, wood grain, or water droplets within the resin.
Creating translucent and opaque areas
Balancing translucent and opaque areas within a sculpture requires skill. Strategically placed pigments or opaque inclusions can create a sense of depth. Meanwhile, preserving clear sections can give the illusion of suspended animation or emphasize the purity of the resin.
Working with large volumes of resin
For bigger sculptures, working with large volumes of resin may be necessary. Scaling up requires understanding how to manage longer curing times, control exothermic reactions, and ensure consistent quality throughout the piece.
Finishing techniques
The finishing process involves sanding and polishing the cured sculpture. Begin with coarse-grit sandpaper and progressively move to finer grits to eliminate imperfections and achieve a glass-like finish. Buffing compounds and polishing machines can enhance the sculpture’s shine.
Best practices for a successful sculpture
Trial and error
Mastering epoxy resin sculpture often involves a learning curve. Beginners should start with small-scale tests to experiment with mixing, curing, and adding colors or inclusions. This trial-and-error approach is valuable for gaining confidence and expertise.
Note-Taking and documentation
Document each step of your process, from the amount of resin used to the curing times for different layers. Keeping detailed records assists in replicating successes and avoiding repeating mistakes in future projects.
Investing in quality tools
High-quality tools can significantly impact the ease of the sculpting process and the quality of the finished work. Invest in precision tools such as mixing utensils, heat guns, and finishing supplies to ensure the best results.
Seeking inspiration and continuing education
Draw inspiration from the creative work of seasoned resin artists, and never stop learning. Artist communities, workshops, and online tutorials can provide valuable tips, techniques, and innovative ideas to refine your skill set.
Delving into the art of sculpting with epoxy resin opens up a realm of endless creativity and expression. While this guide offers foundational knowledge and practical advice for beginners, the journey does not stop here. Through practice, experimentation, and a deepening understanding of the medium, artists can continuously evolve their craft. Remember, every sculpture is a chance to push the boundaries of what epoxy resin can become as an art form.

Leave a Reply